Creating sketch relations in SolidWorks is very useful feature. This article will demonstrate the sketch fillet option – and help you to understand the usage of it in SW2008.
Introduction
As it was already mentioned several times, sketches are the core of SolidWorks modeling. That is why SW program creators are constantly improving sketching options – adding more and more features to that aspect of the program. Besides the features that are probably familiar to you – the lines, circles, rectangles etc., there are sketch relations that help to construct and edit the sketch. In addition to that, there are more fairly advanced features, which will be examined in this article.
A Problem…
Sketch Fillet
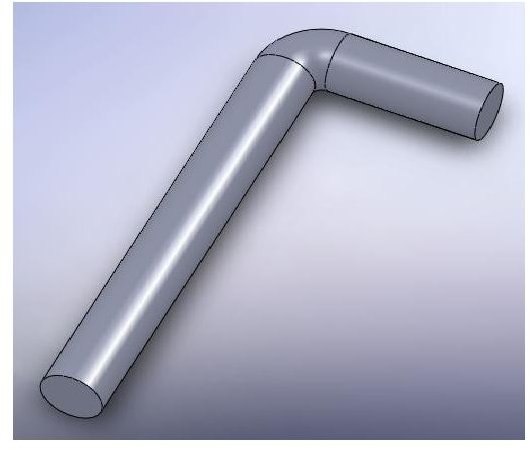
Suppose, an advanced user, has created the part above – using “swept Boss/Base” feature. However, instead of creating a rod with a bend radius he has created this part with a “sharp angle”.
Let’s see how we can turn one into another, using Sketch Fillet.
Showing Sketches
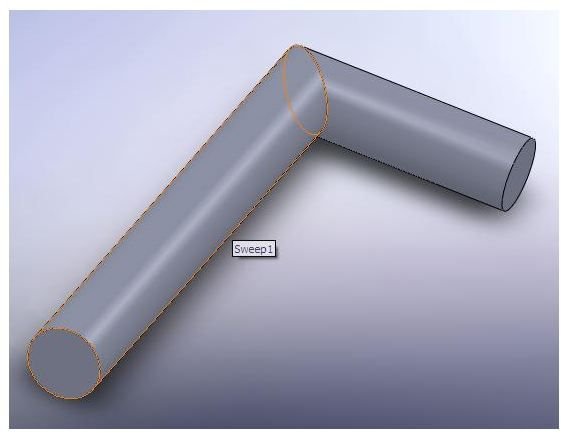
First of all, let’s show the parts sketches. Click on the Sweep feature “+” – you will see the 2 sketches that define it. Select both (or one in a time) and then press the “glasses” to show them. Next, so that the part would not distract us – lets hide it. Right click on the Sweep feature – and press glasses again to hide it.
Edititng the Sketch
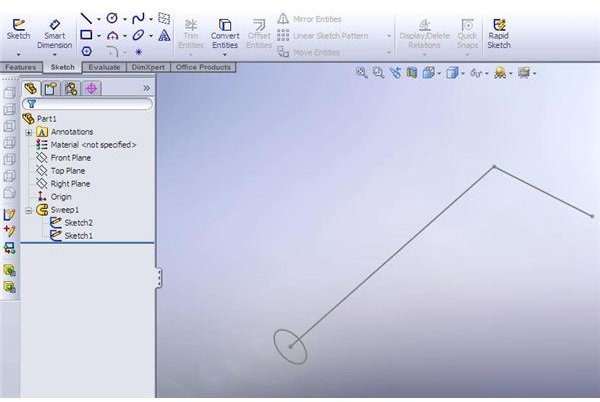
Now let’s edit the sketch. Right-click on the path sketch and click edit. To ease the editing – right-click on sketch again – and make your view normal to it.
Now, let’s add the sketch fillet. Select either the 2 lines or the intersection point (due to be substituted by a fillet). Then click on the sketch fillet icon in the sketch menu.
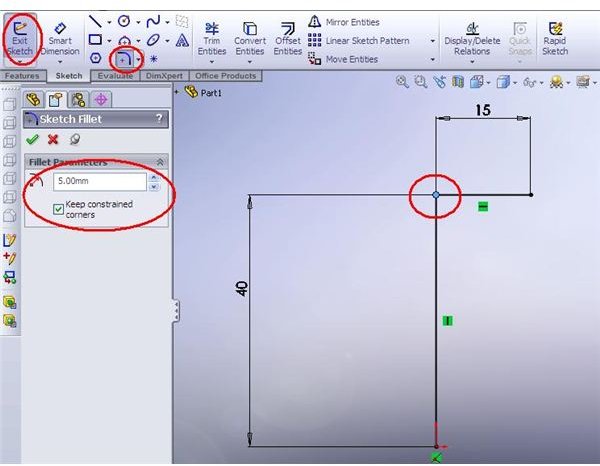
Type the fillet radius in the designated place. It is advisable to keep constraint, since if you uncheck the box, your sketch will delete the definition of the lines (which are now “filleted”) and will require new constraints. When you are done – exit the sketch.
The Result - and more
To see the “result” of your work – show the part, by right-clicking on the sweep feature and picking the “glasses”. You can hide the sketches now – here is another way to do it:
Got to Main Menu -> View -> hide/show section and hide the sketches.
This is it about the sketch fillet. But there are more advanced sketch features, which will be described in future articles!